How To Replace a Rain Sensor With Wireless a Soil Moisture Sensor
By Tim the Techno-Gardener
We’ve all seen sprinklers running in the rain and thought about the waste of water and money. Many sprinkler timers offer a rain sensor input to help solve this issue, but these sensors are outdated and unreliable.
Rain sensors, still marketed by big-name irrigation brands, consist of a stack of hygroscopic disks that expand when wet and contract when dry — somewhat like sponges. As they expand, they press down on a push-button switch, signaling the sprinkler controller to shut off. This century-old technology is anything but innovative.
The problem is that rain sensors have only a loose correlation with actual soil moisture. They’re often mounted on rooftops — far from the plants they're supposed to protect. Wind or heat can dry them prematurely, leading your sprinkler system to turn back on while the ground is still soaked.
Adjusting their sensitivity is also finicky. Some models offer notched disks or adjustable windows, but even with careful tuning, seasonal changes can throw them off.
The reality is, most people are overwatering because their sprinklers aren’t measuring real soil moisture. That’s where wireless soil moisture sensors come in.
Why Wireless Soil Moisture Sensors Are Better
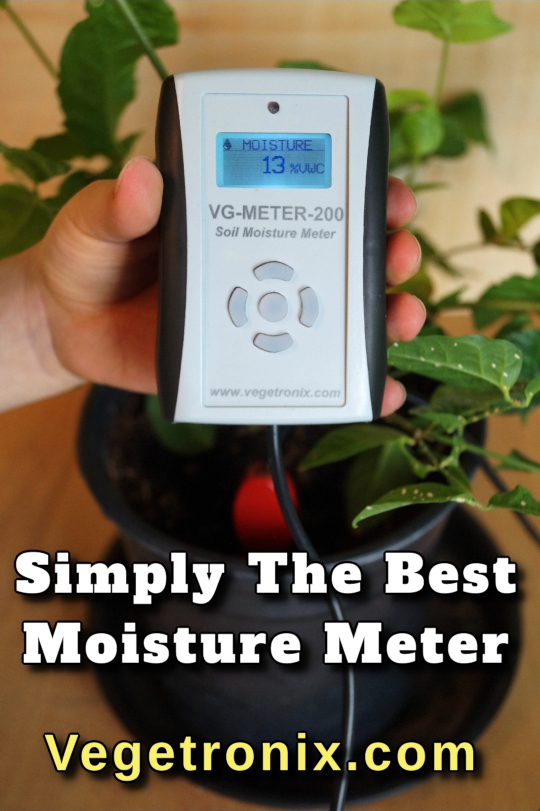
Wireless soil moisture sensors, like the Vegetronix VH400, measure moisture directly in the soil. No more guessing. With this setup, you’ll connect the sensor to a WiFi VegeHub that transmits data wirelessly to a second hub equipped with a relay.
This relay mimics the output of a rain sensor. When the soil is moist, it closes the relay to stop your sprinkler controller from watering. It’s simple, reliable, and works much better than traditional methods.
How I Set It Up
My wireless soil moisture sensor is battery-operated and mounted on a PVC mast in the garden. The receiving hub with the relay is installed next to my sprinkler controller. Two wires run from the relay into the rain sensor input.
I used my phone to configure the hubs. The sensor hub sends data to the relay hub and optionally to VegeCloud for cloud-based graphing. I can also set the moisture threshold directly from my phone.
The whole setup took about 20 minutes and started saving water immediately. However, since sprinkler timers typically support only one sensor input for all zones, the savings potential is limited.
Upgrade for Zone-Specific Optimization
To truly optimize water use, I recommend upgrading to a modern sprinkler controller that supports individual sensor inputs per zone. For example, this 8-channel 24VAC controller I use allows each zone to be controlled by its own wireless moisture sensor.
There’s also a quad latching valve controller with four wireless sensor inputs. It’s energy-efficient enough to run on batteries, but I’ve connected mine to a small solar panel for continuous operation.
These systems often pay for themselves in just one growing season thanks to the water savings they provide.
Thanks for reading!
📩 Contact me if you need help setting up your rain sensor replacement.